
Develop spatial imagination
0.00 $
0 item(s)
Szilassi polyhedron. How to make pdf template
Is it possible to create a polyhedron that has the shape of a torus (donut), but with a minimum number of faces?
Let's assume you can. And how many faces do we need?
A ring can be obtained from at least three faces, but these will only be internal faces. And it would help if you also had the outer edges to make it a truly geometric solid.
A task. Is it possible to make a toroidal polyhedron from seven faces?
This may seem overwhelming. Seven faces are too few!
And yet, in 1977, the Hungarian mathematician Lajos Szilassi found a way to construct a toroidal heptahedron. A heptahedron is a polyhedron with seven faces, from the Latin words "hepta" - seven and "hedr" - edge.

Heptahedron, topologically equivalent to a torus. Topologically, this means it preserves the property of a torus, even after visible deformation.

The Szilassi polyhedron has:
- 7 faces;
- 14 vertices of the polyhedron;
- 21 ribs.
Which will delight lovers of numerology and the number 7.
And also opened in 77 of the XX century.
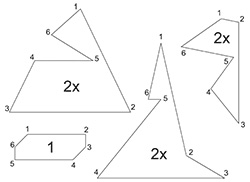
Each face of a polyhedron is a hexagon (although none of them are regular hexagons).

Each pair of faces has a common polygon edge.

Each face of the Szilassi polyhedron touches all other faces.
In other words, each faces borders on each.
Of all the variety, this is possible only for two geometric bodies:
- tetrahedron;
- Szilassi polyhedron.
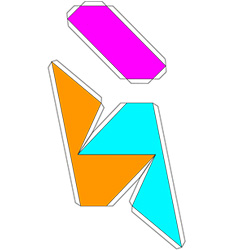
Detailed assembly diagram of the Szilassi polyhedron.One can often find such a variant of the shape net of the Szilassi polyhedron. Two-part shape net:
But there are two reasons why this build option should be avoided.
The first reason is that the polyhedron model is too small.
And the second, most important, inconvenience during assembly. Those who offer such a shape net have most likely never tried to make a paper model from it themselves. If you start the assembly from the outer contour, it is almost impossible to carefully glue the internal parts. This variant of the shape net of the Szilassi polyhedron can only be regarded as an auxiliary instruction.
The model has an internal part that is very difficult to handle during assembly.
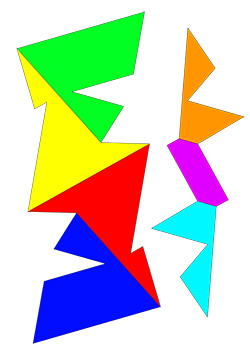
We set as our task the condition that the overwhelming majority of readers can make the model. Therefore, we propose to go the other way. Please choose the size of the parts with which it is convenient to work and refuse to use the net in favor of individual parts.
The polyhedron contains 7 parts. Each will require a colored sheet of paper. But you can make it out of ordinary white paper, followed by self-painting with a brush.
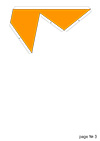
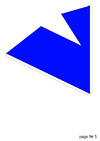
The outlines of each part are printed on a color sheet of their own color A4.

If you have premium colored paper (one side is colored with a protective coating), then print on the free white side.
This will not affect the assembly in any way, except for the moment that the polyhedron will have mirror symmetry concerning the original scheme.
The finished parts are glued together according to the scheme.
First, we collect the inside of the polyhedron.



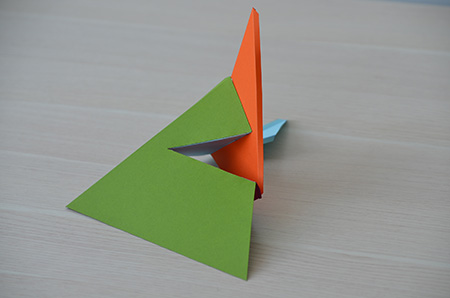
The colored surface of the parts should be inside, forming a ring.


Then we glue the side walls to the inside. Green detail.


Blue detail.


Please do not glue the blue and green parts together. This should not be done yet.
The next step is to glue the remaining two side pieces through the flap marked with number 6 for the red piece.


And through the flap marked with number 7 for the yellow part.


Next, we consistently glue the free flaps to the red and yellow details, as indicated in the diagram:


The final step is to glue the remaining free flaps.
The finished polyhedron model has the following dimensions in mm:
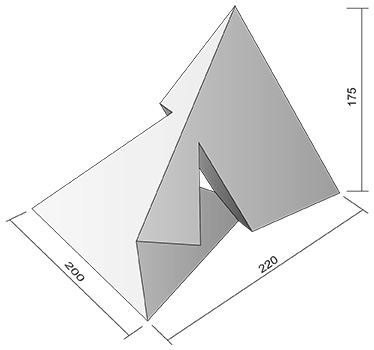
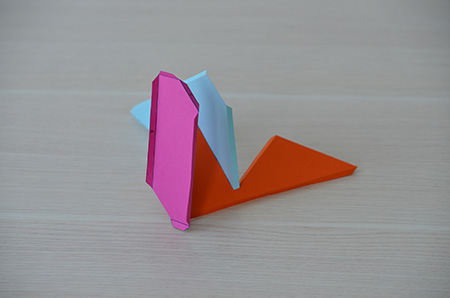
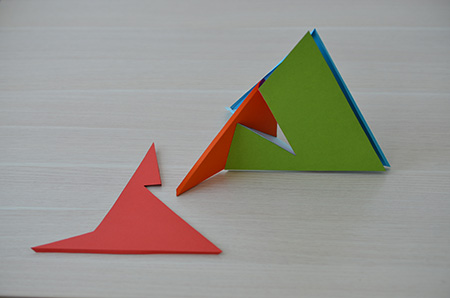
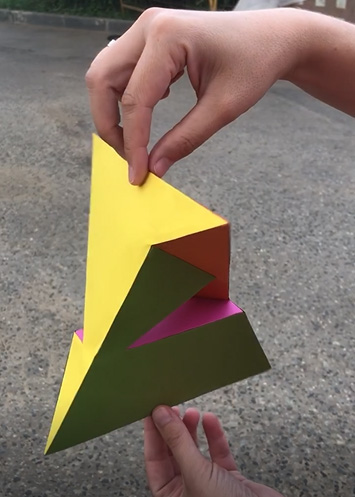
By popular demand from readers, we have added photos with an assembly diagram to the article.

© polyhedr.com 21/08/2020
Popular
Architects have used the elements of polyhedra in designing their constructions since ancient...
In the natural environment, regular polyhedra can be found in the form of crystals (minerals). The...
The festival of fascinating science was held in Moscow on April 24 and 25, 2015, at the physics...
With the same pattern repeating on each polyhedrons face, it is possible to create an alternating...
At first glance, it may seem that glue's choice is quite simple, especially for the paper...

